The Magical World of Sourdough Starters: A Beginner's Guide
Discover the magic of sourdough starters in this beginner's guide. Learn how to create and maintain a living mixture of flour and water, capture natural yeasts, and bake delicious tangy bread from scratch.
11/20/20242 min read
What is a Sourdough Starter?
Before the invention of instant yeast in the 1970s, bread was made through a fascinating process of fermentation. A sourdough starter is essentially a living mixture of fermented flour and water that serves as a natural leavening agent for baking bread. It's a magical combination of flour, water, and wild yeasts from the air that transforms simple ingredients into delicious, tangy bread.
The Science Behind Sourdough
Creating a sourdough starter is like inviting nature into your kitchen. By allowing flour and water to sit and ferment, you're capturing natural yeasts from the environment. These microscopic organisms work their magic, creating a bubbling, alive mixture that will become the heart of your bread-making process.
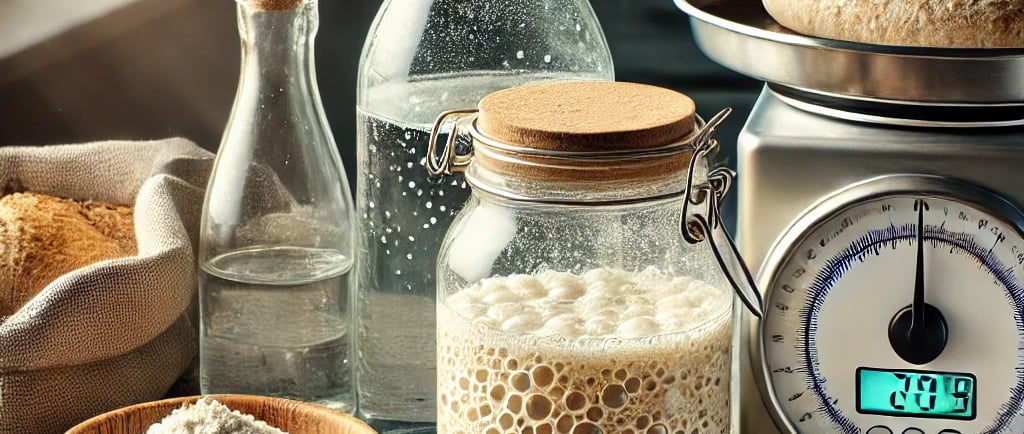
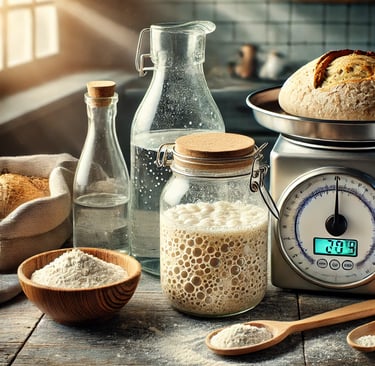
Your Sourdough Starter Toolkit
Before you begin, gather these essential items:
A clean glass jar
A spoon for mixing
A kitchen scale (highly recommended for precision)
Unbleached bread flour (though any flour will work)
Filtered water
The 6-Day Sourdough Starter Journey
Day 1: The Beginning
Mix 135 grams (or 1 cup) of flour with 135 grams (or 3/4 cup) of water
Stir thoroughly
Leave uncovered in your kitchen (you can use a coffee filter or cheesecloth if preferred)
Let it sit for 24 hours
Days 2 & 3: Feeding and Discarding
Discard half of the starter (about 135 grams or 3/4 cup)
Add 135 grams (1 cup) of flour and 135 grams (3/4 cup) of water
Mix well
Leave uncovered for 24 hours
Day 4: Things Get Exciting
You'll start to see bubbles and growth - this is good!
Begin feeding your starter every 12 hours
Discard 113 grams (about 1/2 cup)
Add 135 grams of flour and 135 grams of water
Mix well and rest for 12 hours
Days 5 & 6: Continued Feeding
Repeat the discard and feed process
By the end of day 6, you should have an active starter
Signs of a Healthy Sourdough Starter
An active starter will:
Have lots of bubbles
Double in volume
Smell fruity and fermented
Make a subtle bubbling sound if you listen closely
Pro Tips for Sourdough Success
Patience is key! Every kitchen is different.
Warmer temperatures speed up fermentation
Cooler kitchens slow down the process
Trust the natural progression
Storing and Maintaining Your Starter
Once your starter is active:
You can store it in the refrigerator
Reduce feedings to once a week
Remove from the fridge 12 hours before baking
Preparing to Bake
When you're ready to bake:
Remove starter from fridge 12 hours before mixing dough
Use a 1:2:2 ratio (e.g., 25g starter, 50g flour, 50g water)
Let it rest until it doubles in size
Important Measurement Note
Remember: Weight measurements are crucial!
135g of flour is NOT the same as 135g of water
Always use a scale for accuracy
Final Thoughts
Embarking on a sourdough starter journey is a delightful adventure in baking. Each starter is unique, reflecting the environment and love you put into it. Don't get discouraged if it takes time - the process is as rewarding as the delicious bread you'll create.
Happy baking, and enjoy your sourdough adventure!